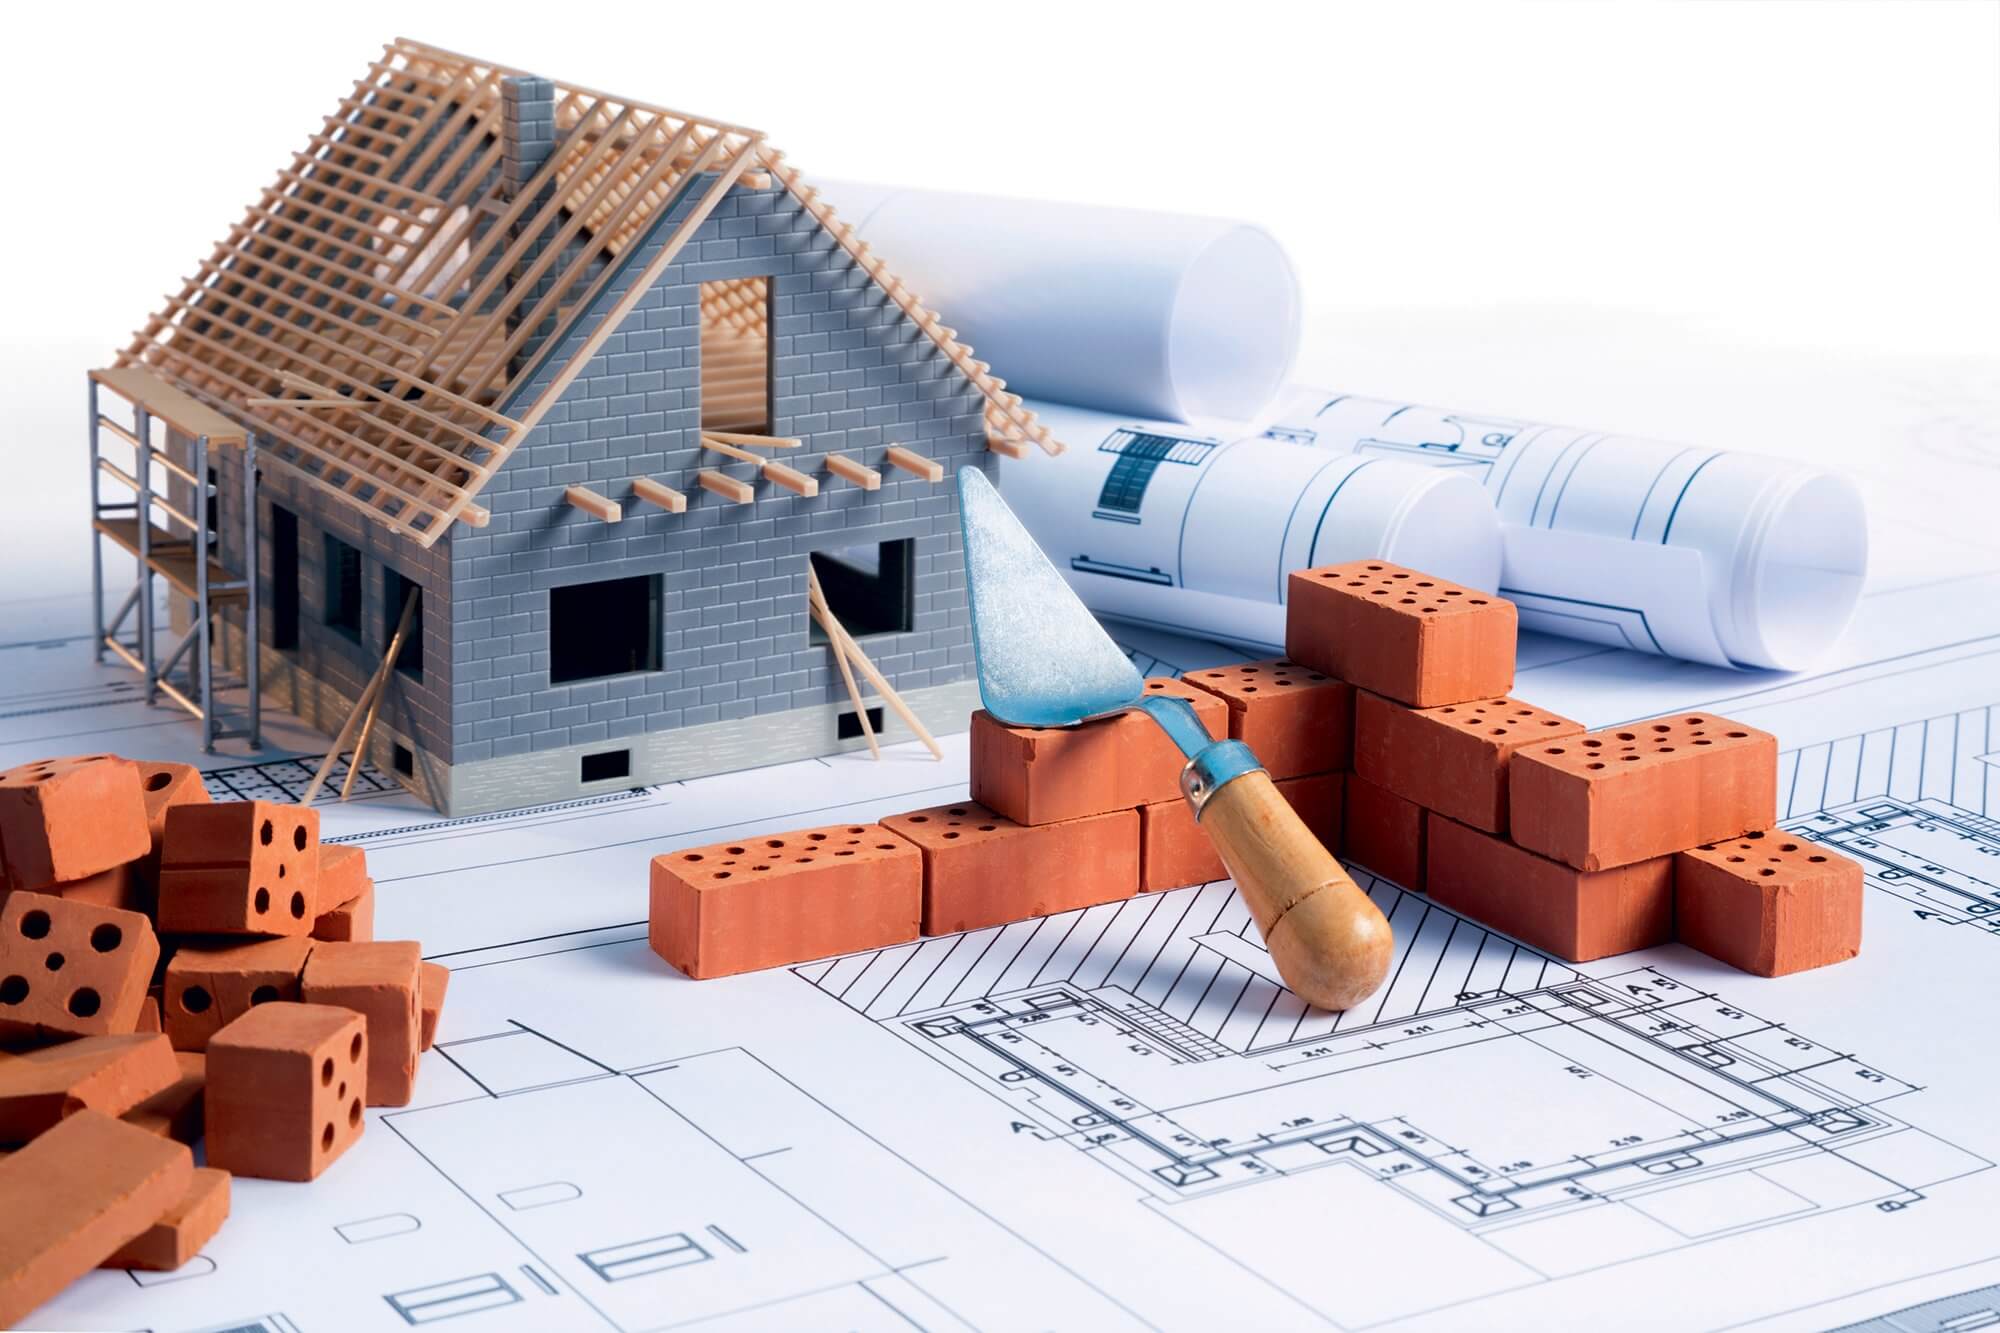
Taking on a “Self-Build” project is perhaps the most rewarding—and demanding—way to secure a home. Unlike buying from a developer, self-building allows you to control every penny spent and every material used. However, the transition from “dreamer” to “project manager” requires a shift from creativity to clinical organization.
Here is a strategic roadmap to managing your own build, from the first stake in the ground to the final coat of paint.
Phase 1: The Pre-Construction Foundation
Before a single brick is laid, the success of your project is determined by your preparation.
- Financial Scoping: Establish a “hard” budget. In self-builds, it is standard practice to include a 15% contingency fund for unforeseen ground conditions or material price hikes.
- Legal & Permissions: Secure your plot and verify “Detailed Planning Permission.” Ensure you have Self-Build Insurance and a 10-year structural warranty in place before starting—without these, getting a mortgage or selling the house later will be nearly impossible.
- The Design Team: Hire an architect or a structural engineer. Even if you are managing the build, you need professional “as-built” drawings to guide your subcontractors.
Phase 2: Procurement and Scheduling
A project manager’s primary job is ensuring the right people and materials arrive at the right time.
- The Master Schedule: Use a Gantt Chart to map out the sequence (e.g., you can’t plaster until the “first fix” electrics are done).
- Vetting Subcontractors: Don’t just hire the cheapest quote. Ask for references and see their previous work. Clearly define the Scope of Works in writing for every trade (Plumber, Electrician, Bricklayer) to avoid “hidden extras.”
- Material Lead Times: Some items, like high-end windows or roof trusses, can have lead times of 12+ weeks. Order these early to prevent your site from sitting idle.
Phase 3: The Build Sequence
Managing a site requires presence. You should be on-site at the start and end of every day.
- Groundworks: Clearing the site, digging foundations, and laying drainage.
- The Shell: Bringing the walls up to the roofline (the “Wallplate”).
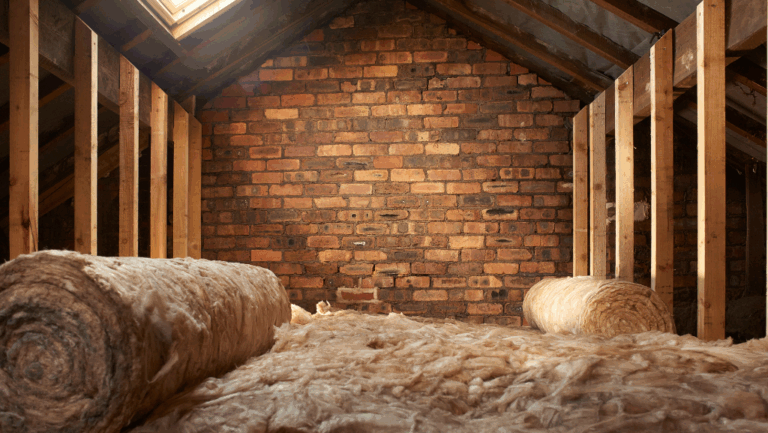
- Weather Tightness: Once the roof is on and windows are in, the house is “dried-in,” allowing interior work to begin regardless of the weather.
- First Fix: Installing internal stud walls and the hidden “carcass” of plumbing and wiring.
- Plastering & Second Fix: Closing the walls, installing sockets, hanging doors, and fitting the kitchen.
Phase 4: Quality Control and Compliance
As the project manager, you are the final arbiter of quality.
- Building Control Inspections: You must notify your local authority at key stages (foundations, drainage, roof). Do not move to the next stage until the inspector has signed off on the previous one.
- Site Safety: You are legally responsible for Health and Safety on site. Ensure the site is fenced, clean, and that all trades are working safely.
Key Performance Indicators for the Self-Builder
| Task | Focus Area | Success Metric |
| Budgeting | Cost Tracking | Staying within ±5% of the phase estimate. |
| Scheduling | Critical Path | No “empty site” days due to missing materials. |
| Communication | Transparency | Weekly briefings with the lead foreman/trades. |
| Snagging | Quality | A minimal “punch list” at the end of each stage. |
The Verdict: Is Self-Management for You?
Managing a self-build can save you 20% to 30% on the total cost of the house by eliminating the profit margins of a main contractor. However, it requires a significant time investment—roughly 20–30 hours a week of administrative and on-site work. If you are organized, resilient, and decisive, it is the most effective way to build a high-specification home for a fraction of the market price.
Project Manager’s Rule: “Cheap, Fast, or Good—pick two.” On a self-build, always prioritize Good and Cheap by sacrificing Fast.