

There’s something incredibly satisfying about looking out at your backyard and seeing a space designed for relaxation, dining, and summer sunsets. If your garden is currently nothing more than a patch of grass, a patio is the ultimate upgrade—and the best part? It’s a project you can tackle over a single weekend.
While it’s definitely a workout, laying a patio is a rewarding DIY task that can save you thousands in professional labor costs. Ready to level up your outdoor living? Here is your step-by-step guide to laying a professional-looking patio.
Step 1: Planning and Prep (Friday Evening)
Don’t skip this stage! A good patio is 70% preparation and 30% laying stones.
- Choose your materials: Natural stone, concrete pavers, or porcelain tiles? Whatever you pick, make sure you have enough (plus 10% for cuts and breakages).
- Mark it out: Use wooden pegs and string to outline the exact area. Measure diagonally to ensure your corners are perfectly square.
- Clear the site: Dig out the area to a depth of about 6–8 inches. This allows for your base layer, bedding layer, and the thickness of the stone itself.
Step 2: The Foundation (Saturday Morning)
A patio is only as good as the ground beneath it.
- The Sub-base: Fill your excavated area with about 4 inches of MOT Type 1 (crushed stone). Use a plate compactor (you can rent these from most hardware stores) to pack it down until it’s rock solid.
- Ensure Drainage: Your patio should have a slight “fall”—a slope of about 1 inch for every 6 feet—away from your house. This ensures rainwater drains away from your foundation rather than pooling at your door.
Step 3: Laying the Bed (Saturday Afternoon)
Now it’s time to lay your “setting bed.” Mix a mortar of 4 parts sharp sand to 1 part cement.
- Spread this mixture over your compacted sub-base.
- Use a straight edge (a long piece of timber) to level the mortar so it’s perfectly flat relative to the slope you’ve created.
Step 4: The Art of Laying (Sunday Morning)
This is where it all comes together. Start in the corner of the patio that is most visible from the house.
- Place your stones: Carefully press each paving slab into the mortar bed. Use a rubber mallet to tap it down until it sits level with your guide string.
- Check the level: Use a spirit level frequently. If a stone is too low, add more mortar; if too high, remove it.
- Spacers: Use plastic spacers to ensure your gaps (the joints) are uniform. A gap of 10-15mm is standard.
Step 5: Pointing and Finishing (Sunday Afternoon)
Once the mortar bed has set (give it at least 24 hours), it’s time to fill the gaps between the stones.
- Pointing: Brush a “pointing compound” or a wet mortar mix into the gaps. Use a pointing trowel to press the mix firmly into the joints to ensure a watertight seal.
- Clean as you go: Wipe away any excess mortar from the surface of the stones immediately with a damp sponge. If you let it dry, it will be a nightmare to remove!
Three Pro-Tips for DIY Success:
- Wear Knee Pads: You’ll be on your knees for hours. Do yourself a favor and invest in a quality pair of gel knee pads.
- Rent the Right Tools: Don’t try to cut heavy stone with a hand saw. Rent a petrol disc cutter or an angle grinder with a diamond blade. It makes the job faster and the cuts much cleaner.
- Work with a Buddy: Even if you’re a solo DIYer at heart, dragging heavy slabs and moving materials is a two-person job. Grab a friend (and offer them some BBQ once the job is done).
The Reward
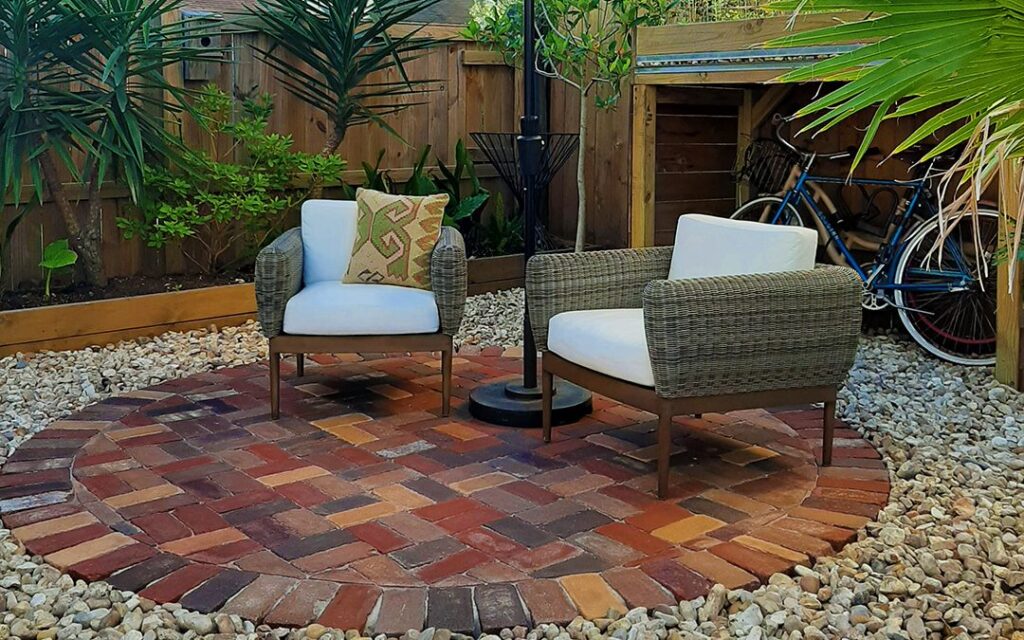
By Sunday evening, you’ll be sore, covered in dust, and likely exhausted. But as you stand back and look at your new patio, you’ll realize it was worth every drop of sweat. All that’s left to do? Pull up a chair, crack open a cold drink, and enjoy your new favorite spot in the house.
Are you planning a patio project this season? Let us know your dream garden design in the comments below!