
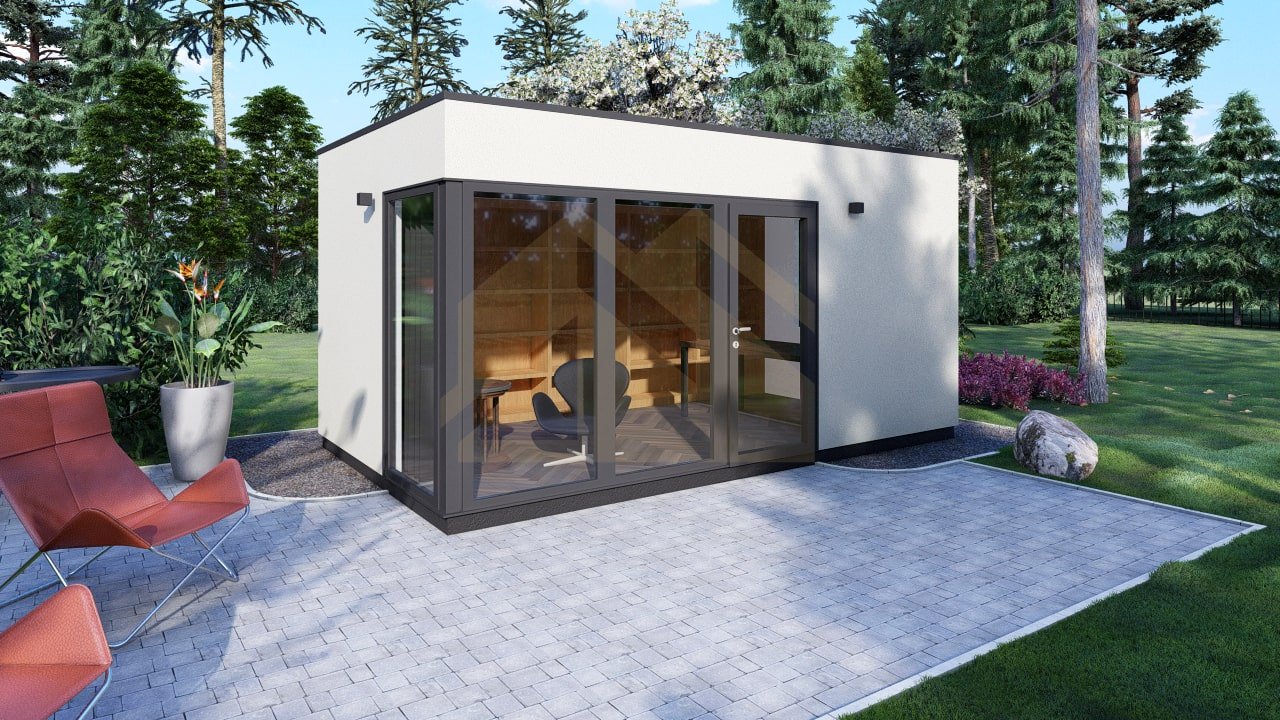
There’s a common misconception about garden offices: they are fantastic in the spring and autumn, but they turn into literal greenhouses in the summer and sub-zero iceboxes in the winter.
If you want to use your garden room 365 days a year without wearing a parka at your desk in January or melting into your chair in July, proper insulation is the secret.
Whether you’re building a new garden office from scratch or retrofitting an existing one, here is your complete guide to insulating a garden office for ultimate, year-round comfort.
Why Insulation Matters (Beyond Temperature)
Before we dive into the how, let’s talk about the why. Insulation isn’t just about keeping you warm; it’s about:
- Energy Efficiency: A well-insulated office requires a fraction of the energy to heat and cool, keeping your electricity bills low.
- Soundproofing: Good insulation helps block out neighborhood noise, barking dogs, and lawnmowers, creating a peaceful workspace.
- Moisture Control: Insulation, combined with a proper vapor barrier, prevents condensation and dampness, protecting your building and your expensive tech.
Start from the Bottom (The Floor)
Many people forget about the floor, but a significant amount of heat escapes downward. If your garden office is built on timber joists or concrete blocks, the floor needs attention first.
- Suspended Timber Floors: Fit insulation boards (like PIR boards, e.g., Celotex or Kingspan) tightly between the floor joists. Rest them on timber battens nailed to the sides of the joists. Seal any gaps with expanding foam.
- Concrete Slabs: Lay a damp-proof membrane (DPM), followed by rigid insulation boards, and top with a tongue-and-groove flooring grade chipboard or laminate.
- Finish: Add a thick underlay and carpet or rugs for an extra layer of thermal comfort.
Wrap the Walls
The walls make up the largest surface area of your garden office, meaning they are your biggest opportunity to trap heat. Most garden offices use timber frame construction, which makes insulating them relatively straightforward.
- Install a Breather Membrane: On the exterior side of the studs (facing outwards), ensure there is a breather membrane to let moisture escape while keeping rain out.
- Choose Your Insulation:
- PIR Rigid Boards: Excellent thermal performance for minimal thickness, but require precise cutting.
- Mineral Wool / Rockwool: Great for soundproofing and fire resistance, and it’s flexible enough to squeeze between studs.
- Sheep’s Wool or Hemp: Eco-friendly alternatives that also help regulate indoor humidity.
- Add a Vapor Control Layer (VCL): On the interior side of the insulation, staple a VCL sheeting. This stops warm, moist air from your breath and electronics from getting into the timber frame and causing rot.
- Cover It Up: Finish the walls with plasterboard and skim, or wooden tongue-and-groove cladding for that classic cabin feel.
Look Up (The Roof)
Heat rises, and physics dictates that up to 25% of heat escapes through the roof. Depending on whether your garden office has a pitched roof or a flat roof, your approach will vary slightly.
- Pitched Roofs: Insulate between and beneath the roof rafters using rigid insulation boards or mineral wool, leaving a small air gap near the top for ventilation (unless using a warm roof system).
- Flat Roofs: Ideally, garden offices should use a “warm deck” roof design. This means the insulation sits on top of the roof deck, right beneath the waterproof covering. If you are retrofitting an insulated ceiling from the inside, ensure you leave a ventilated air gap between the roof deck and the insulation to prevent condensation.
Don’t Neglect Doors and Windows
You can insulate the floors, walls, and ceiling to perfection, but if you have single-pane, drafty doors and windows, your office will still be freezing.
- Double or Triple Glazing: Essential for temperature control and sound reduction. Look for Low-E glass, which reflects heat back into the room during winter.
- Frames: Aluminium frames with thermal breaks or high-quality uPVC/timber frames prevent thermal bridging (where heat transfers easily through the frame).
- Draft Proofing: Check the seals around your doors and windows. Apply weatherstripping tape to any gaps where you feel a breeze.
Ventilation and Climate Control
Insulation traps air, which is great for temperature, but you still need fresh air to breathe!
- Trickle Vents: Install windows with trickle vents or add a small, controllable wall vent to ensure fresh air circulates, preventing a stuffy environment.
- Heating and Cooling: Once insulated, your office won’t need much power to heat. A small oil-filled radiator, an electric panel heater with a thermostat, or—even better—a mini-split air source heat pump will provide both efficient heating in winter and air conditioning in summer.
Insulating a garden office is a weekend project that pays dividends for years. By treating the room as a complete system—floor, walls, roof, and windows—you’ll create a cozy, quiet, and cost-effective workspace that you can happily retreat to, no matter what the weather is doing outside.
Have you insulated your garden office recently? What materials did you use? Let us know in the comments below!