
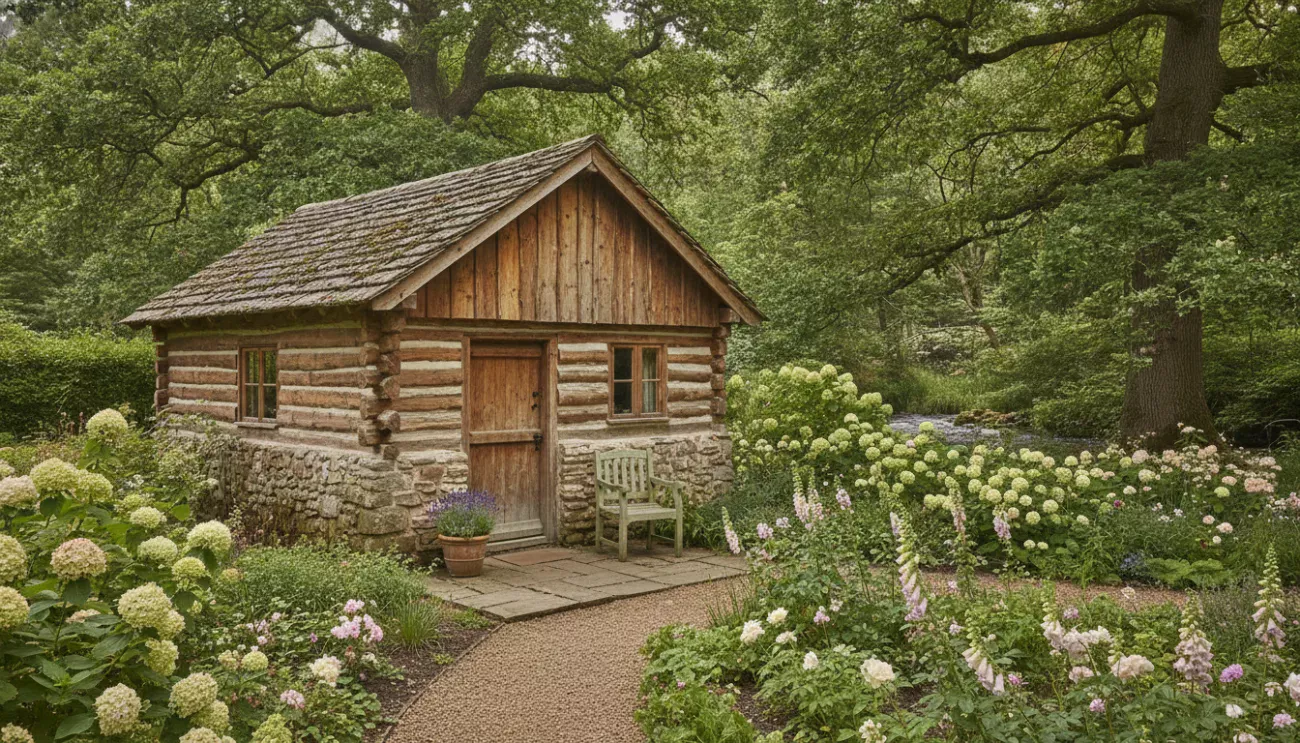
Picture this: a beautifully crafted log cabin arriving on a flatbed lorry at 8am on delivery day. The driver’s cup of tea is going cold in the cab because nobody told him the side gate is 850mm wide, the cabin panels are 2.4m, and the only way round is through next door’s garden. The neighbour is on holiday. We’ve seen it more times than we’d like to admit, and almost every time it could have been avoided with a half-hour of siting work the week before.
Siting is the bit that gets skipped. Most people fall in love with a cabin, click order, then ask the awkward question: where on earth does this go? We’re going to fix that today. Below is the same siting checklist our installation team walks through before we set foot on a property, written for a typical UK garden.
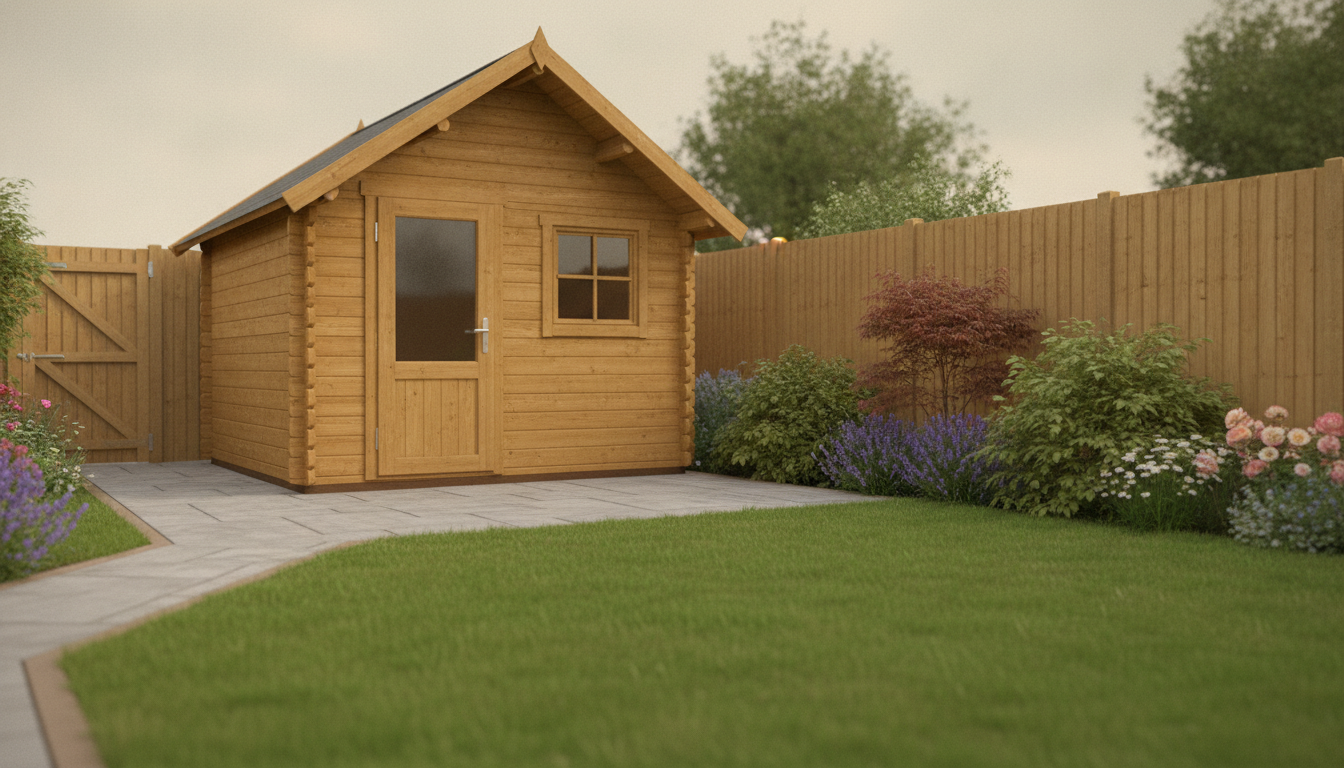
The British garden in numbers
Before we get into the practicalities, a bit of context, because it shapes every decision that follows.
A typical new-build rear garden in England is somewhere between 40 and 80 square metres, often rectangular and often with a single side access down the gable. Older properties fare better: the average garden size for an English home sits around 255 square metres, but that includes countryside plots that drag the figure up. The honest median for a Victorian or 1930s terrace is closer to 60 to 120 square metres, with the usual shape: a 4 to 6 metre wide plot, a side return of about 900mm to 1 metre, and the main garden stretching 8 to 12 metres back.
That is the canvas. Pick the wrong spot on this canvas and you’ll spend the next decade regretting it. Pick the right spot and a well-built cabin will quietly earn its keep for 25 winters.
Step 1: Sort the legal bit before anything else
It takes 10 minutes and saves you a demolition order. In England, most garden buildings fall under Permitted Development Rights (PD), meaning you don’t need a formal planning application, but only if your cabin stays inside a tight set of rules. Wales, Scotland and Northern Ireland have their own variations, so always check your national planning portal if you’re not in England.
The headline rules for an outbuilding to stay within PD in England are:
- It must sit behind the principal elevation of your house. That is, no log cabin in the front garden.
- It must be single storey.
- Combined with any other outbuildings, it cannot cover more than 50% of the land around the original house. Existing sheds, summerhouses, garages and extensions all count toward this.
- It cannot sit forward of any public road in a way that would affect the character of the area.
Then comes the rule everyone misses: height against boundary.
- If your cabin will sit within 2 metres of any boundary, the maximum overall height is 2.5 metres for any roof type.
- If it sits further than 2 metres from the boundary, you can go up to 4 metres with a dual-pitched roof, or 3 metres otherwise.
- Eaves height matters too: anything over 2.5 metres at the eaves within 2 metres of a boundary triggers a planning application.
There’s a difference between PD (planning) and Building Regulations, and people regularly confuse the two.
- Under 15 square metres of floor area, no Building Regs approval needed.
- 15 to 30 square metres is usually fine, as long as there’s no sleeping accommodation and the cabin sits at least 1 metre from any boundary (or is built substantially of non-combustible material).
- Over 30 square metres, you’ll almost certainly need a Building Regs application, especially if you’re running mains electrics.
Finally, four “gotchas” that aren’t planning but will bite you:
- Listed buildings, conservation areas, AONBs, National Parks and World Heritage Sites strip away most of your PD rights. Always check with your local planning authority.
- Restrictive covenants on your title deeds can ban or limit outbuildings irrespective of planning law.
- Leasehold properties often need freeholder consent before anything goes on the grounds.
- An Article 4 Direction on your street can remove PD rights locally. Your council’s planning page will tell you.
If you want certainty before spending a penny, you can apply for a Lawful Development Certificate through your council. It’s a fee, but it’s the document that satisfies buyers’ solicitors when you eventually sell. We’ve covered the garden office version of this in more detail over here, and while the headline framework is the same for log cabins, the height thresholds and boundary rules are where most projects get caught out.
Step 2: Get honest about access
Right, this is the bit our install team jumps to first, before any other conversation.
Most UK gardens are reached through one of three routes:
- A side return alley between the house and the boundary wall, typically 900mm to 1 metre wide. Most trade-standard pedestrian garden gates are sold at around 900mm wide to suit this opening.
- A shared rear alley behind a terrace, with rear gates roughly 900mm to 1.2m wide.
- Through the house, which means coming through the front door, down the hall, out the back door. This rules out any cabin panel over about 800mm wide and any roof section over about 2 metres.
Standard fence panels in the UK are about 1.83 metres wide (6ft), which is also about as wide as most cabin wall sections once built, so it’s worth remembering that most cabin walls will pass through a standard fence opening if you take the panel out for an hour. The point we’re driving at: measure the narrowest point of your access route, then subtract 100mm for manoeuvring, and that number is the largest single piece your cabin needs to come through in.
If your chosen cabin can’t fit, you have three options:
- Choose a smaller cabin. Honestly the simplest.
- Take a fence panel out for delivery day and reinstate it. Cheap, takes 30 minutes, the panels are usually 1.83m so you can stack them out of the way.
- Have the cabin craned over the house. Expensive (often £400 to £1,200 depending on access and lift) but it solves the impossible access problem completely. Worth asking a local mini-crane firm for a quote.
Walk the route yourself, physically, with a tape measure. Don’t estimate. We’ve turned up to deliveries where the gate was a generous 1 metre wide, the path between house and shed was also a metre, but the corner of the extension ate 300mm of that metre, leaving nothing usable. Twice we couldn’t get in, and twice the customer swore on the phone the access was fine.
Step 3: Pick the position in the garden
Siting is about balancing three competing priorities: the building, the base, and the bit of garden you still want left.
The most common placements, in our experience, ranked by what works best in a typical small British garden:
| Position | Best for | Watch out for | | — | — | — | | Far back corner, door facing back diagonally into the garden | Most cabins; draws the eye out and makes the garden feel longer | Boundary distance (Step 1) and overhanging tree branches | | Side return, against the house wall | Storage-style cabins, narrow footprints, workshops | Damp transfer from the house wall; minimum 100mm DPC-free gap | | Mid-garden, parallel to the back fence | Larger cabins where the corners don’t work | Internal “corridors” of wasted lawn around the cabin | | Attached to the rear boundary | Glamping pods, holiday-style builds, larger footprints | Fence ownership (whose fence is it?); neighbour access for maintenance |
The corner placement works in small gardens for the same reason an L-shaped kitchen makes a small kitchen feel bigger. It cuts off the diagonal of the rectangle and pushes the eye down the longest line. You’ll find more on this trick in our piece on positioning small garden buildings.
A few position rules that save headaches later:
- Don’t push the cabin flush against the back fence. Leave at least 300mm behind it so you can paint, treat and inspect the rear wall. Wood needs airflow.
- Leave at least 1 metre between the cabin and any side fence so you can walk round it, run a hosepipe, and treat the cladding.
- Think about where the door swings or slides open. Doors that open onto a fence are infuriating. Doors that open onto the house’s line of sight (kitchen window, patio doors) are also a common regret.
- Think about where rainwater will run off the roof. Sloping roofs shed water off the low side. Position the low side towards lawn, not your workshop door or the patio.
Step 4: Get the ground right
Logs are unforgiving. Any twist, dip or movement in the base shows up at the joints within a season as either gaps (cold, drafts, wasps) or jamming (doors that won’t close).
Before any base goes in, the ground itself wants to be:
- Level within about 10mm across the footprint. More than that and the cabin will rack. Use a long spirit level or a laser, not your eye.
- Free of topsoil and organic matter under the cabin footprint. Turf, roots, and the buried black sack of rubble you forgot about will all decompose eventually, leaving voids that the base settles into.
- Drained. If your chosen spot sits in a winter puddle, you don’t have a siting problem, you have a drainage problem. Either pick somewhere drier, or dig a simple French drain running away from the spot.
Strip the turf and topsoil across the full footprint plus about 150mm all round for working room. Drop the level by 50 to 100mm so the finished base sits proud of the surrounding ground, never below it. A base that sits below the surrounding lawn ends up sitting in a puddle.
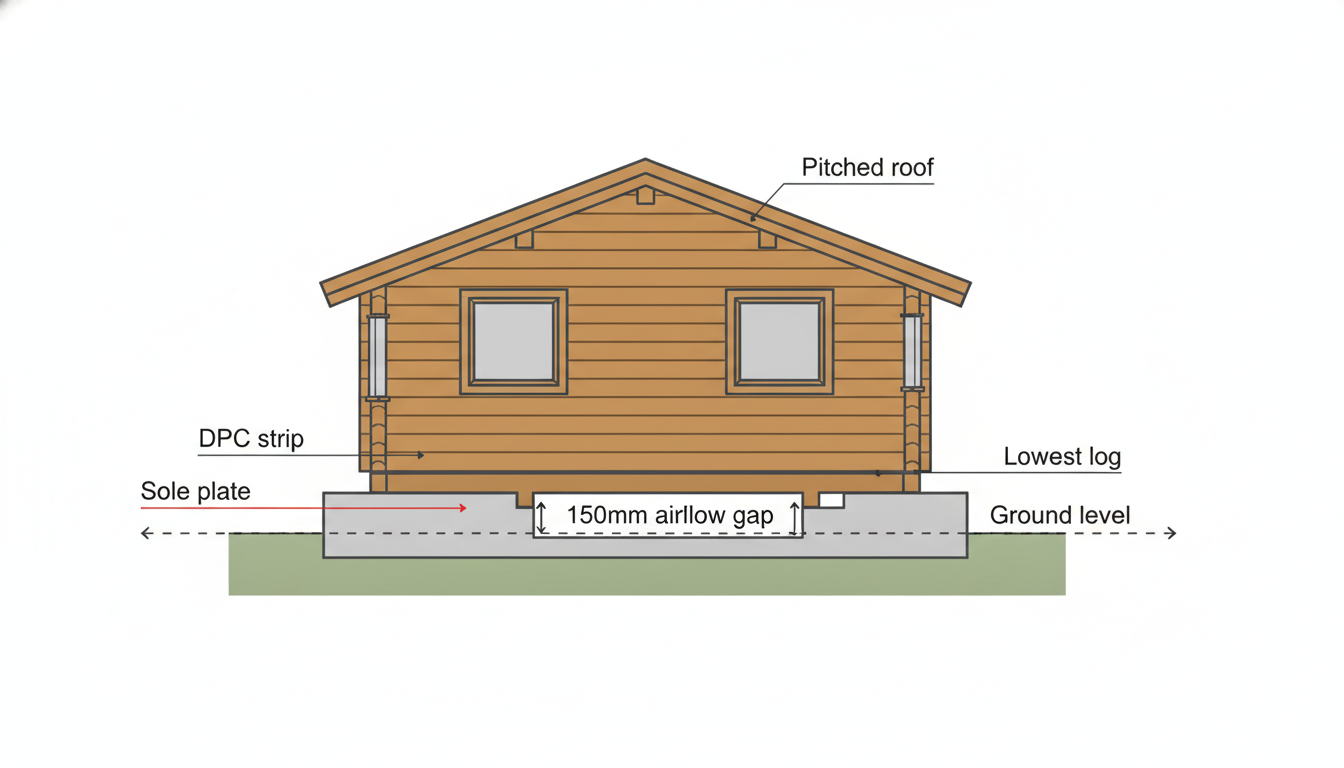
Two things about the damp-proof course (DPC) worth getting right first time:
- A continuous DPC strip goes between any timber sole plate or bearer and the masonry or concrete base. Without it, ground moisture wicks straight into the timber and you’ll be replacing bearers within ten years.
- The timber of the cabin should sit at least 150mm above the finished ground level. This is what stops splashback wetting the lowest log and starting rot at exactly the place you can’t easily access.
Step 5: Choose a base that suits your ground
This is where the spec sheet meets reality. Five base types cover almost every UK garden we’ve worked on. None is universally best; each has its place.
| Base type | Best on | Build time | Typical cost (cabin 4×3m) | Notes | | — | — | — | — | — | | Concrete slab | Level ground, heavy or year-round cabins | 2–4 days + curing | £600–£1,200 | The most permanent option. Best for insulation underfloor. | | Ground screws / pin piles | Slopes, soft ground, sites with mature tree roots nearby | 1 day | £400–£800 | Fast, no digging, removable. Not ideal if ground is full of buried services. | | Concrete pier or pad foundations | Slopes and uneven ground | 1–2 days | £300–£600 | Good airflow under the floor, cheap, easy to level. | | Paving slabs on hardcore | Truly level gardens, occasional-use cabins | 1–2 days | £250–£500 | The everyday DIY choice. Easy to retrofit, easy to remove. | | Pressure-treated timber frame base | Quick DIY install, level sites | 1 day | £200–£400 | Least permanent; bearers can rot if DPC is missed. |
A few rules of thumb that have saved our customers money:
- If the ground is genuinely level and you plan to use the cabin year-round, a concrete slab pays for itself through better insulation, longer floorboard life, and the option to tile or carpet directly.
- If your garden slopes more than about 200mm across the footprint, don’t try to level it with a deeper slab. Either dig into the high side, or use piers or ground screws so you can level on top.
- Never lay a base on turf. Even if the cabin sits fine for one summer, the turf underneath dies, decomposes, and leaves a soft pocket. Strip it.
- Match the base to the cabin’s weight and use. A 3×3m summerhouse used at weekends is happy on paving slabs. A 5×4m log cabin you’ll heat through winter is happier on a slab.
Whatever base you choose, it must be slightly larger than the cabin footprint so rainwater runs off the cabin and onto the base, then onto the surrounding ground, rather than pooling at the cabin wall.
Step 6: Get the orientation right
Orientation is the single cheapest improvement you can make to a log cabin, and almost no one thinks about it before buying.
The questions to ask, in order:
- Which way does the door face? Most people want the door facing the house, so they can see who’s at the cabin from the kitchen window. That’s a security and convenience call. Fair enough.
- Which way does the glazing face? If the cabin has its main glazed wall, that’s the wall you want to orient towards south or south-west for the most daylight through the year. South-facing means winter sun all day; the cabin warms up without a heater running.
- Which way does the prevailing wind come from? In most of the UK, that’s the south-west. Put the solid wall (the door wall, ideally) on the south-west side, so the wind hits something it can’t drive rain into. Openings facing south-west is a recipe for wet window frames and ingress at the sills.
- Where will the cabin be in midwinter at 3pm? Stand in the garden at your chosen spot at that time, on a clear January day. You’ll see immediately which walls get sun.
For an all-year-round cabin used as a home office or studio, the standard north European advice is long axis running east-west, glazing on the south side, entry on the east or west. For a weekend summerhouse, the rules relax: orient the glazed wall towards the bit of garden you’ll be sitting looking at.
Step 7: Plan services before you commit to a spot
This is where most DIY siting plans come undone. By the time you’ve picked the spot, poured the base and built the cabin, “running a cable out there” feels like a £600 afterthought. It’s far cheaper to plan the run at the siting stage.
For mains electricity:
- The cable needs to come from the house consumer unit, in armoured cable, in a trench at least 450mm deep (600mm under a path or driveway), with warning tape 150mm above the cable.
- The trench crosses your chosen cabin spot or runs next to it. Plan the trench route now, while you can still cheaply move the cabin 2 metres to the left.
- The cable typically terminates in an exterior-grade junction box on the cabin wall, then surface-mounted cable inside.
For water (if it’s a washroom cabin):
- Run 25mm MDPE pipe in the same trench at the same depth.
- Lag the pipe if any of the run is above ground or in a frost-prone spot.
For internet:
- A standard domestic Wi-Fi router reaches about 25 to 30 metres in open air, less through log walls. If the cabin is at the bottom of a long garden, plan for an external-grade access point on the house or a powerline/Ethernet run in the trench.
- A hard-wired Ethernet run is more reliable than any wireless solution for video calls. Worth trenching at the same time as the power.
Plan the trenching route once, dig it once, and pull in power, water and data in the same visit. We’ve seen customers trench twice because they laid the electric first and then realised they also wanted water and internet. Excavation is the expensive bit; pulling extra cables through an empty duct is cheap.
Step 8: Mind the trees
This is the one that gets people ten years after install, when the lovely silver birch the previous owner planted has grown a root under the base.
Two separate issues at play here.
Roots and the base itself.
Some trees are notorious for aggressively seeking water and cracking or shifting foundations around them. Oak, willow, poplar, sycamore, ash and plane are the usual suspects; their roots can travel between 1 and 1.5 times the height of the tree in search of moisture. The general rule on shrinkable clay soils (most of the South and Midlands of England) is to keep cabins at least the mature height of the tree away. On sandy or chalk soils the risk drops, but never disappears.
For practical purposes:
- If a mature tree sits within about 5 metres of your proposed spot, get a quick opinion from a structural surveyor or arboriculturist before you commit. It’s £150 and prevents a £4,000 base replacement.
- If the tree has a Tree Preservation Order (TPO) on it, you can’t just trim it to “fix” the root problem. Talk to your council first.
Leaves, branches and overhanging growth.
Less dramatic than root damage, but the most common cause of cabin misery in leafy suburbs. Branches that overhang the roof drop sap, leaves and twigs. Leaves sit in the roof valleys and gutters, hold moisture, and over years shorten the life of the felt, EPDM or shingles above. Branches that rub in wind will physically wear through roofing.
The rule we use: the cabin’s footprint, plus 1 metre in every direction, should be clear of branches. If it isn’t, factor in an annual chimney sweep equivalent for the roof, and plan for the day you have to cut the tree back.
Common siting mistakes, in one place
A short list, because what we see most often deserves its own heading:
- Ordering the cabin before measuring access.
- Picking the spot because it’s the sunny corner, without checking it’s also 2.5 metres from the boundary.
- Pouring a base level with the lawn instead of proud of it.
- Skipping the DPC “because it’s only a shed.”
- Building first, then trying to figure out where the electric cable will go.
- Pushing the back wall flush against the fence, then having to take the whole cabin apart to replace a section of rotten cladding four years later.
One last consideration: the people installing it
This sits slightly outside the siting checklist but it’s the bit that saves the whole project when something on the above list doesn’t quite work. Our installation team has been fitting timber buildings into British gardens for a long time, and they will, on the day, measure access, mark out the base, check the levels and call out any siting problem before a single log goes down. If you’d rather not run the checklist yourself, our installation service covers mainland UK, and a site survey is part of the booking.
If you’d rather DIY the cabin itself, we have step-by-step assembly guides that come with every kit, and the article on installing our buildings walks through what to expect on delivery day.
The site prep is the part nobody writes songs about, but it is the part that decides whether a log cabin becomes the best thing in your garden for the next two decades, or a regret you carry every time you look out the kitchen window. Take the morning. Walk the garden with a tape measure, a phone with a spirit level app, and the eight steps above. By the time the kettle goes cold the second time, you’ll know exactly where that cabin should go.
Got a tricky garden you’re trying to site a cabin in, narrow access, a mature tree in the way, or a slope that’s defeating you? Tell us about it in the comments, and we’ll tell you what we’d do.